

Here we offer you guidance on how to delete temp files on mac.
A macOS computer tends to generate files whenever you, the user, initiate an operation. For instance, when you open an app, the operating system creates temp files so when you do the same thing next time, it’ll launch it faster.
Similarly, when you visit a site via your browser, the system generates temp files so when you visit that site again, it’ll load up faster than the first time. Other examples of actions that generate temp files include installing apps and booting up the macOS computer. This functionality is essential in most computers as it allows the system to load things up considerably faster. But there are times when the temp files the operating system generates do more harm to the computer than good.
That happens because temp files, much like any other file, consume disk space. Given enough time, they can eventually consume hundreds of GBs worth of disk space, and that can lead to storage issues. So, how can you delete temp files on Mac?
Method #1: Delete Temp Files on Mac With Terminal
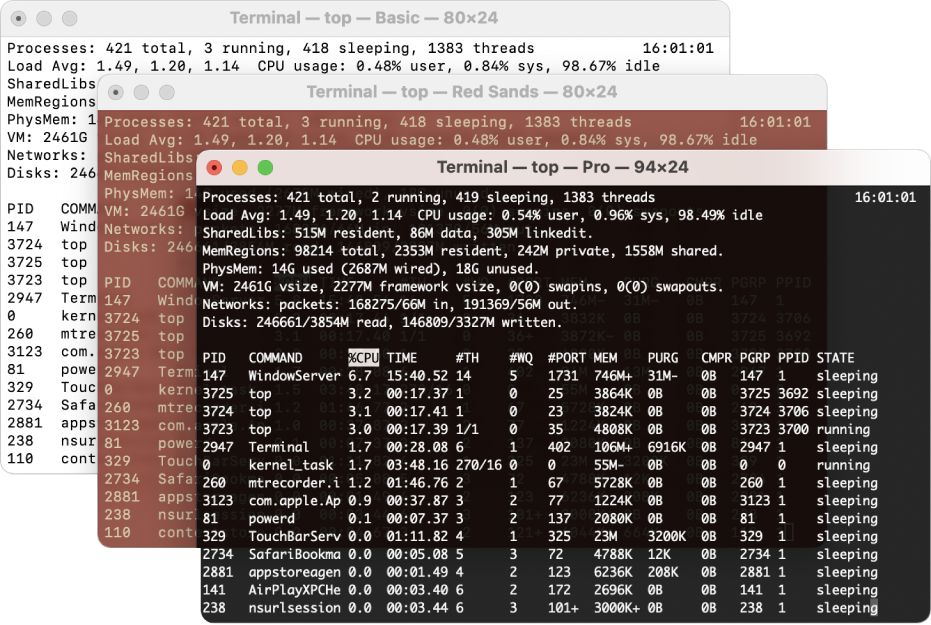
The Terminal is the Apple counterpart of Windows PC’s Command Prompt. It allows you to execute various commands on your computer by typing in lines of code. Though it requires a bit of technical knowledge to use, it won’t be necessary if you have a step-by-step guide like this article. The best part about Terminal is that it can bypass protection, meaning you can still delete temp files on Mac even if the folder where they’re located is encrypted. With that said, here’s how you can use this method:
- Click the Launchpad icon on your computer. The icon should look like a gray rocket with a black silhouette. In some macOS versions, the icon looks like a square with nine colored squares inside it.
Note: The Launchpad is the app management program of macOS that allows you to open certain apps, including the Terminal which is the primary tool you’ll be using for this method.
- On the Launchpad, find and open the Terminal app. Its icon should look like a black box.
- Once Terminal is open, type in the following text: chflags nohidden /Users/username/TMP. Make sure you replace the “username” part of the text with the Apple ID or username you use on your macOS computer.
- Press Return or Enter on your keyboard.
This will simply unhide the folder on your computer. It doesn’t take you to that folder, nor does it delete the temp files automatically for you. For that, you must perform another set of steps:
- On the Terminal app, type in $TMPDIR.
- Press Return or Enter.
- A Finder window will appear that is currently in the folder containing your temp files. If it’s not, then type in Open /tmp instead of $TMPDIR. The correct prompt will vary according to the macOS version you’re currently using.
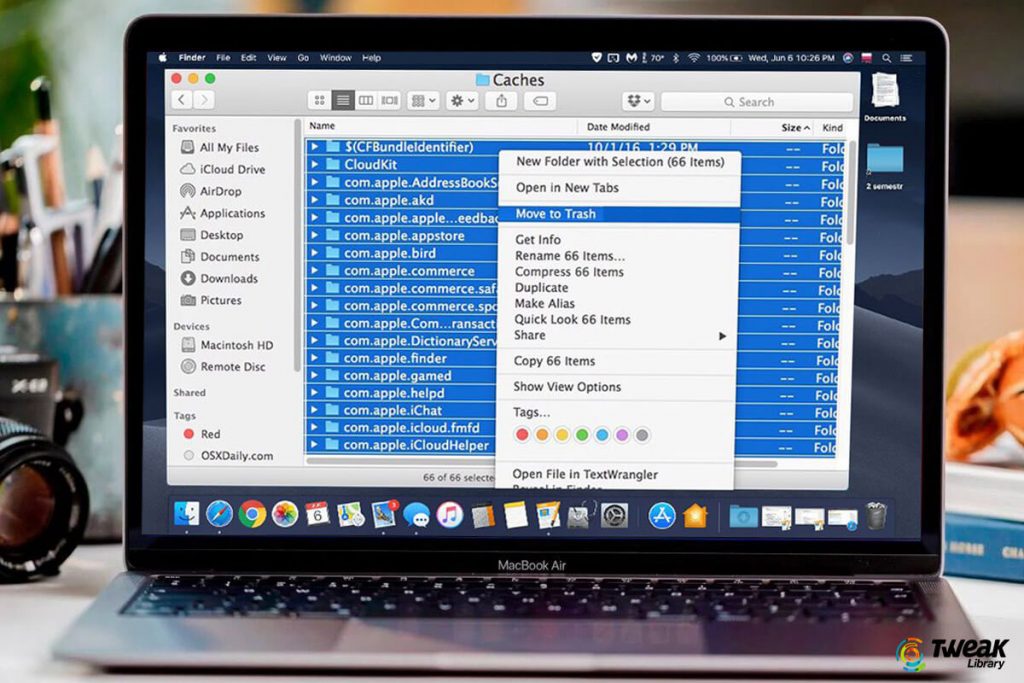
- Once you’re on the correct folder, find the temp files you want to delete.
- Drag and drop them into the Trash icon on the Dock. The icon looks like a literal trash bin.
- Open the Trash app and delete the files again so they don’t consume disk space.
Method #2: Delete Temp Files on Mac Via Finder
Finder is the file management app for macOS computers. It enables you to move from one folder to another. For your purposes, you’ll be using Finder to navigate to the folder containing temp files. Here are the steps you must follow:
- Open a session of Finder on your computer.
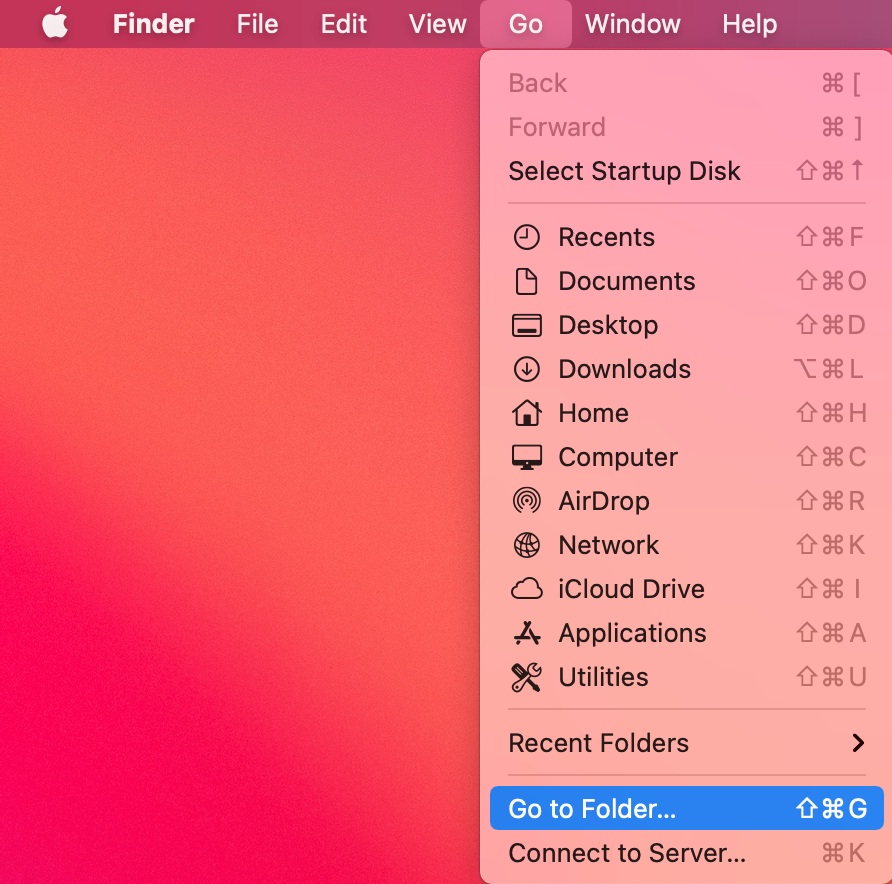
- Click Go from the top menu bar.
- Select Go to Folder… from the resulting dropdown menu.
- A popup window will appear. In the text bar of that window, copy and paste the following text: /Users/username/TMP. Again, make sure you replace your username with your personal Apple ID or username.
Note: This will only work if you’ve already unhidden the temp folder.
- You’ll find yourself in the temp folder. Find and delete the temp files you want to erase.
Keep in mind that apart from the actual temp files, there are other files that pose the same problem as temp files, that is, files that consume disk space needlessly. Those are cache files, and fortunately, you can delete them as well.
Method #3: Delete Cache Files on Mac Via Finder
Cache files are similar to temp files in that it’s not necessary, but they are somewhat useful. You can delete cache files the same way you can delete temp files. Below is the step you must follow to delete these files:
- Open a session of Finder.
- Click Go from the menu bar.
- Select Go to Folder.
- Copy and paste the following text: /System/Cache. This will take you to the system cache folder. If you want to delete app cache files, you can type in /Library/Cache instead. Either way, these are technically temp files as well.
- On the folder, find and delete the cache files you want to delete.
Though it should normally work smoothly, there are instances where the default directory of temp files is changed. So, the commands you just used may not work as intended. If that’s the case, you may have to use a different method.
Method #4: Run Mac Cleaner
It may not have been obvious, but the aforementioned methods each have their own downside. They’re either too complex or too sloppy. Though you can delete temp files on Mac using those methods, you might end up leaving a couple of those files behind or making a mistake and causing data loss. Naturally, that can be frustrating, especially since you have to put in a considerable amount of time and effort to use these methods. That’s why it might be best to just use Mac Cleaner.
Mac Cleaner is a cleaning software that specializes in deleting certain files, and as it turns out, temp files are among these files. Hence, it’s the perfect tool to delete temp files on Mac. With that said, here’s how you can use the software:
Step #1: Set up Mac Cleaner on Your Computer
On your computer, open any browser and head to the Mac Cleaner download site. Click Download Now to download a DMG file, which should be the installer. Open it and follow the onscreen instructions to install the software.
Step #2: Select Clean up Junk
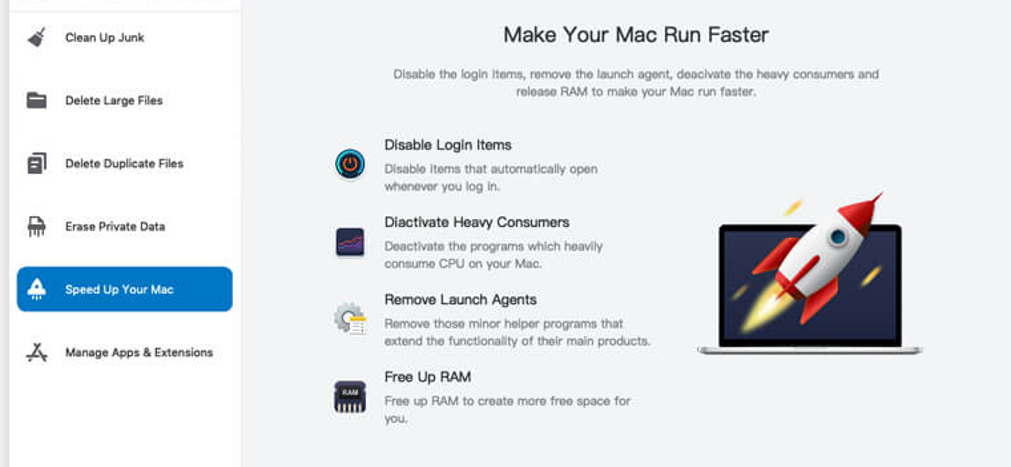
If you look at the left side of the software, you’ll find six options, namely (1) Clean Up Junk, (2) Delete Large Files, (3) Delete Duplicate Files, (4) Erase Private Data, (5) Speed Up Your Mac, and (6) Manage Apps & Extensions. These correspond to the six modules Mac Cleaner currently offers. For your purposes, you’ll only need the Clean Up Junk module as it allows you to scan junk files. These may include System Junk, App Junk, Trash Bin, iOS Junk, iTunes Junk, and most importantly, temp files. To select the module, simply click on it from the left-hand side of the interface.
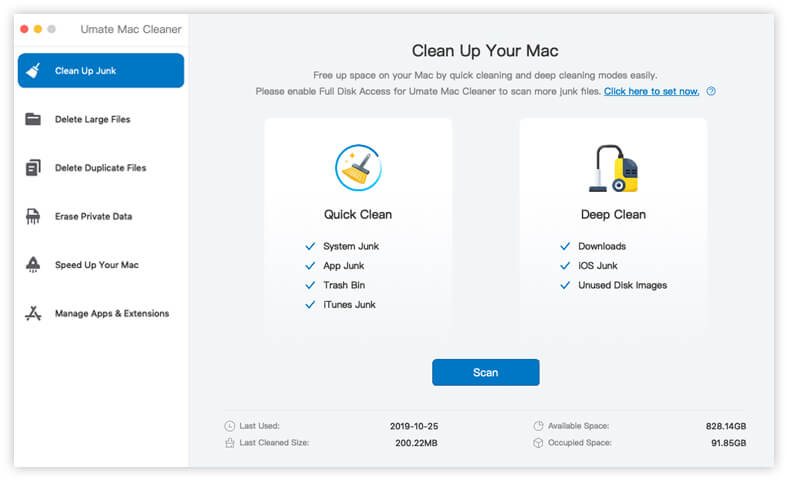
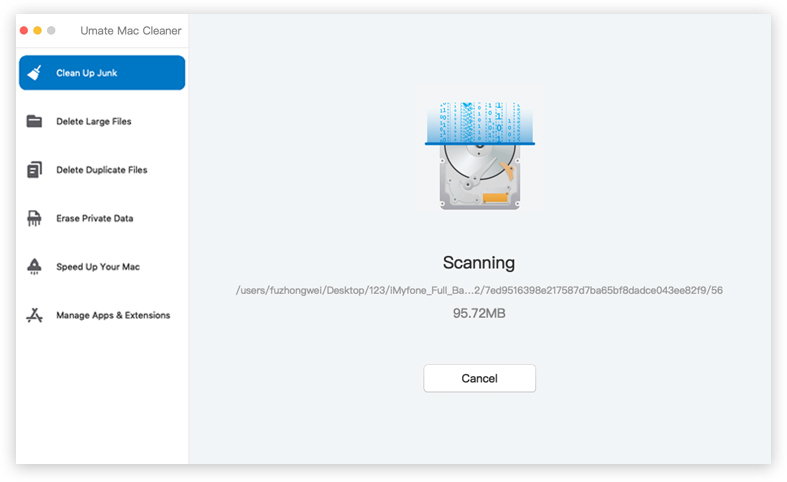
Step #3: Click the Scan Button
Upon selecting the module, the software will change its appearance. It’ll turn into a two-sided window. One side says Quick Clean, while the other says Deep Clean. Quick Clean searches your computer for System Junk, App Junk, Trash Bin, and iTunes Junk. Meanwhile, Deep Clean searches those types of files in addition to Downloads, iOS Junk, and Unused Disk Images. Temp files should be included in the Quick Clean, but we suggest choosing Deep Clean just to make sure. Once you’ve selected an option, simply click the Scan button at the bottom area of the interface to proceed to the next step.
Step #4: Pick a File Category and File/s
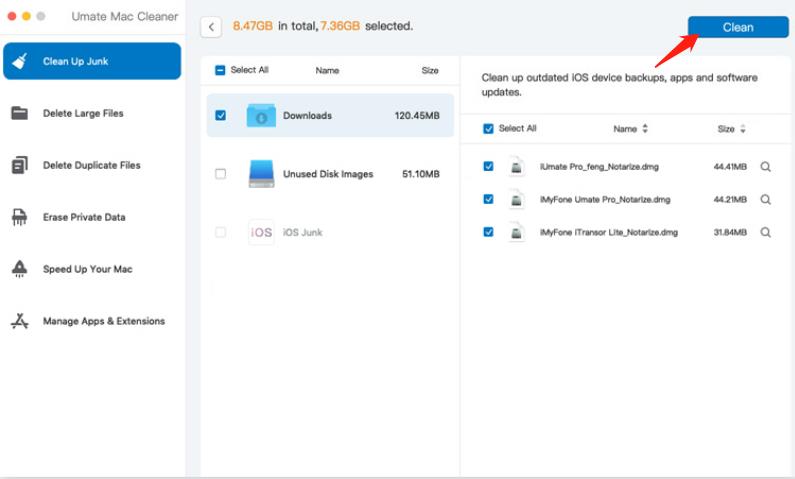
You’ll promptly get a list of items on the left side of the software. These items will include the categories that were mentioned on the previous screen, such as System Junk, Downloads, Trash Bin, Unused Disk Images, etc. Simply select a category from this list. After doing so, you’ll find a new list on the right side of the software. That list will consist of actual files. Simply select the ones you want to delete by checking their checkboxes. You can also click Select All if you want to delete all items in the list.
Step #5: Click the Clean Button
The final step is to delete the files, and you can do so by clicking the Clean button located at the top-right corner of the interface. It may take a while to finish deleting the selected files, so you may have to wait for a few seconds or minutes.
With this, you can very easily delete temp files on Mac. Not only that, but you can also delete certain files that are causing the same issue as temp files. In other words, you can very easily free up space on your computer with Mac Cleaner.
Wrapping up
Though it’s important to delete temp files on Mac every once in a while, you shouldn’t go overboard. You can perform cleanups once a month, but more than that is typically excessive. Not only does it raise the possibility of data loss, but it can also make things a bit inconvenient since temp files usually include your browsing history and login data. Without these temp files, you may struggle to visit sites you regularly visit. But of course, if you have a cleaning app like Mac Cleaner, performing cleanups several times a month shouldn’t be an issue since the software specifically targets useless temp files.
Latest Articles