

How to Use iCloud Storage? When you buy a computer, it typically comes with a solid-state drive or SSD. The drive determines the maximum storage capacity of the computer, which can range from gigabytes to terabytes. Apart from the SSD, the storage capacity of your computer may also vary according to its operating system and model. Though it’s not always the case, you’ll find that Mac devices generally have a lower storage capacity than Windows computers. On the bright side, Mac has iCloud storage.
Part 1:What Is The iCloud Storage?
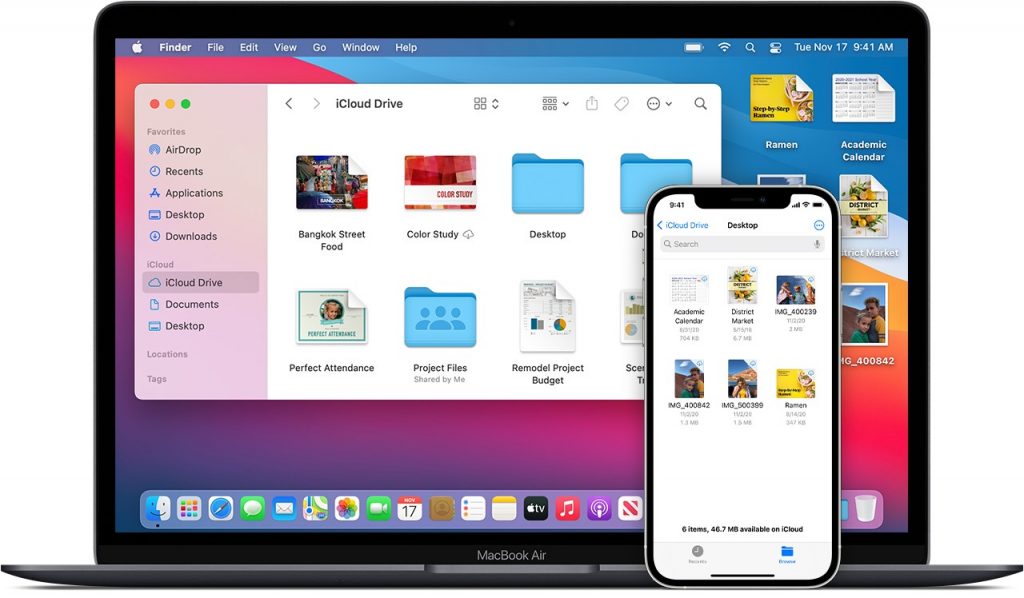
The iCloud storage is essentially free storage offered to Apple users to serve as extra disk space. You can store files on this storage via the iCloud Drive, though it requires the internet to upload them into said online directory.
Upon doing so, you can access those files wherever you are. But again, it requires the internet to download these files. The best part about the iCloud storage is you can delete the original copy of the file. Doing so will save space on your actual Mac storage disk, and you won’t lose the file since you can retrieve it anytime, anywhere, as long as you have internet, of course. But apart from the fact that it saves you the storage, there are many other reasons why you should use iCloud storage.
Part 2:Why Should You Use iCloud Storage?
Here’s a look at some of the benefits of using iCloud storage:
Security and Safety
The iCloud storage is found on the internet, meaning as long as the internet persists, or as long as Apple continues to give access to iCloud Drive, your files there should be safe. It should be safe from hackers, viruses, malware, and such. After all, it’s only natural to assume that Apple, a multi-billionaire company, has better security and safety measures than you. For that reason, the iCloud storage is an excellent way to create backups, as you won’t lose them even if your computer malfunctions.
Convenience
The iCloud storage also brings a level of convenience since you’re able to access the iCloud Drive directory anywhere, anytime. It may have the downside of requiring the internet, but pretty much everyone already has internet.
Extra Storage
We already mentioned it, but we’ll say it again—iCloud storage is an excellent way to extend your disk space. If you pay a subscription fee, you can extend your disk space for a maximum of 4TB, which is a ton of storage.
After seeing these benefits, you might be eager to use iCloud storage, so that’s what we’ll discuss in the next section.
Part 3: How to Use iCloud Storage
There are several ways to use iCloud storage. You can put files into iCloud, or you can take files out of it. You can also set it so files automatically go to the iCloud Drive. Let’s start by discussing how to enable the iCloud on your Mac:
How to Enable iCloud
- Open the Finder app.
- Click Preferences from the top bar menu.
- There should be four different tabs on the Finder Preferences window. Go to the Sidebar tab.
- Tick the box for iCloud Drive if it’s not checked already.
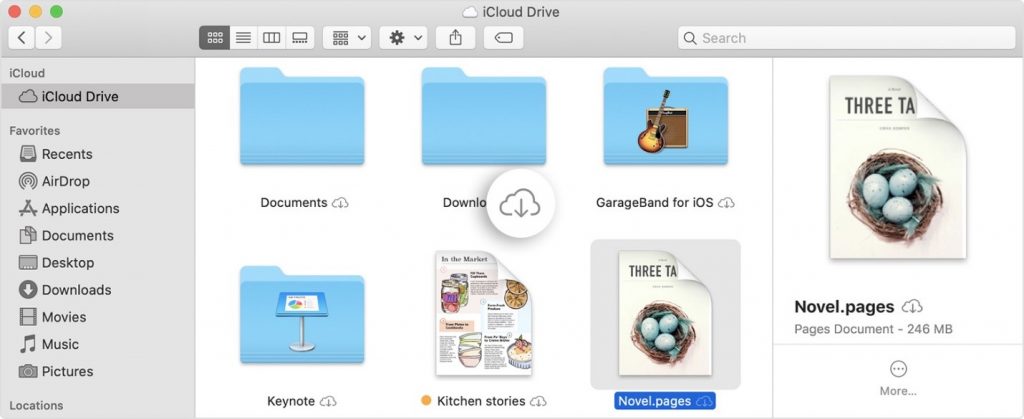
How to Move Your Files to the iCloud
- Open the Finder app again.
- Select iCloud Drive from the sidebar.
- Drag and drop the files you wish to add to the iCloud into the iCloud Drive folder.
How to Get Your Files from the iCloud
- Open the Finder app.
- Navigate to the iCloud Drive folder again.
- Control-click the file you wish to get.
- Select Download Now.
How to Move Files to the iCloud Automatically
- On your Mac, click the Apple icon from the top-left corner of the screen.
- Select System Preferences from the resulting dropdown menu.
- Click on your Apple ID/name.
- Select iCloud.
- On the iCloud Drive option, click Options.
- Tick the checkboxes of the directories you wish to connect to the iCloud storage.
- Click Done.
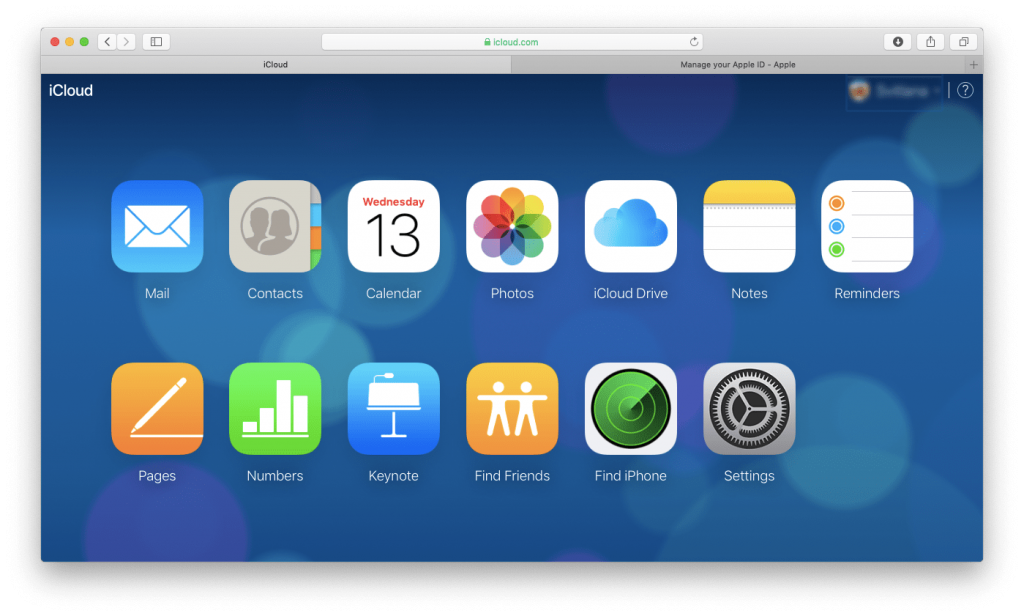
Alternatively, you can visit the iCloud.com website and log in using your credentials. On this site, you can upload and download files as you wish. It also updates in real-time when you add files via the iCloud Drive folder.

Part 4:Free up Some Space on Your Mac With Mac Cleaner
If you don’t intend to pay for iCloud storage, the highest capacity you can get for free is 5GB. Yes, it’s not much, which is why you’ll likely run out of storage on your iCloud before you can make the most out of it. If that’s the case, then you’re better off focusing on the actual storage disks of your Mac, which should have at least 256GB in capacity. To be more precise, you must learn how to manage your Mac storage more efficiently, and you can do so with the use of Mac Cleaner.
Mac Cleaner is a program specializing in cleaning files, though it also has some other features. With the software, you can very easily delete unnecessary files on your Mac, thereby freeing some space. Here’s how you can use this tool:
Step #1: Download, Install, and Open Mac Cleaner
On your Mac, open a browser and proceed to the Mac Cleaner website. There, click the Download Now button. Use the downloaded file to install the software, and once the installation is over, open the newly-installed Mac Cleaner.
Step #2: Choose a Module
Upon opening Mac Cleaner, you’ll be met with an interface that consists of a sidebar to the left and all sorts of information in the center. On the left sidebar, you can find six options that correspond to each module of Mac Cleaner. Each module has different functionalities. Here’s a look at what each module does:
- Clean Up Junk detects files that are considered “junk” by the system. Though the definition of “junk” is rather vague, it should at least include Trash Bin Junk, App Junk, System Junk, iTunes Junk, and Downloads Junk.
- Delete Large Files scan the computer for any file that is 50MB in size or larger. It’s the best way to free up space on your computer since it can reduce your disk space by a lot. It also only detects unnecessary files, so there’s no need to worry about deleting important data when you use this particular module.
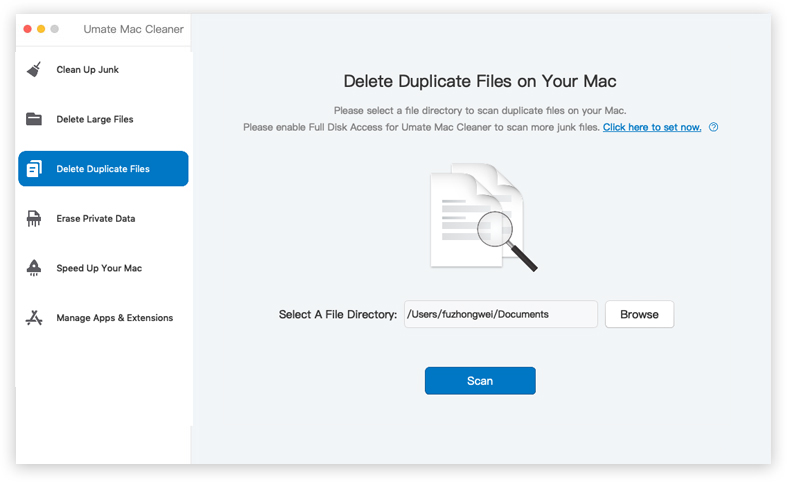
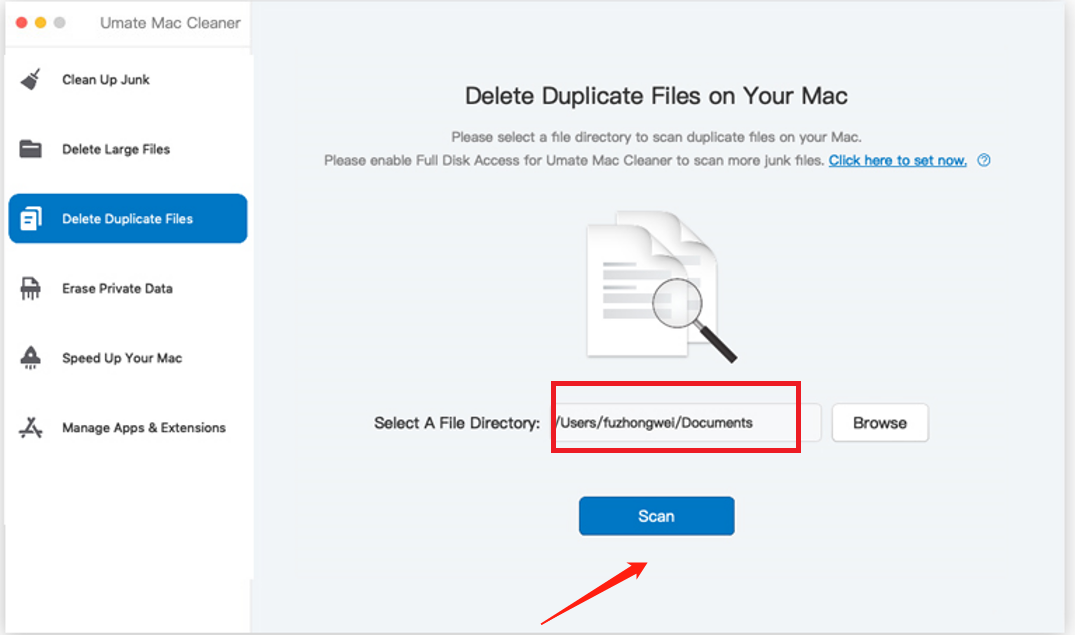
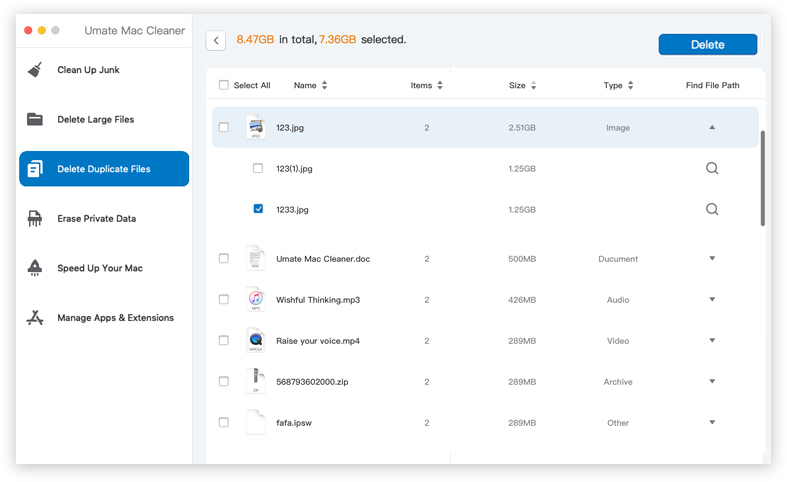
- Delete Duplicate Files inspects your computer for any file that has more than one copy in the storage disks. In other words, it scans for duplicate files, hence the name. It then gives you the option to delete the extra copies as you like.
- Erase Private Data finds files that the software considers “private” data. It works similarly to Clean Up Junk in that it has its own set of criteria for choosing files. However, it should at least include chat data, mail attachments, and browser history. The main goal of this module is to minimize the likelihood of your files leaking to the public.
- Speed Up Your Mac allows you to boost your Mac’s performance via four different methods.
- Manage Apps & Extensions give you the option to remove extensions and uninstall applications.
We suggest selecting from the first four modules. The other two focus on clearing the RAM, which won’t contribute to your goal of freeing up some space on your Mac. Simply click the option from the left sidebar to select a module.
Step #3: Scan for Files
Once you select a module, the center area of the interface will display information on that particular module, such as what files it can detect. Click the Scan button at the bottom of this area to proceed to initiate the scanning process.
Step #4: Choose a File
After the scan, the screen will change and the software will display a list of items. These can either be files that you can delete, or folders that contain files. Simply select the files you wish to delete. If you can’t find the file, select a folder and you should be able to see the files it contains on the right side of the interface.
Step #5: Delete The File/Click The Blue Button
Finally, click the button at the top-right corner of the screen once you’ve selected all the files you wish to delete. The button will have different captions according to the module, though it should be one of the three: Delete, Erase, and Clean.
With these five steps, you should be able to easily free up some space on your Mac by deleting unnecessary files. You can choose to use only a few modules, or all of them, though we suggest the latter since there’s not much overlap in the files they can detect. Hence, you can maximize the value of the software by using all modules.
Conclusion
Your computer may not have the highest storage capacity on the market, but it at least has access to the iCloud storage. Windows do not have such a feature, and that in itself is reason enough to choose Mac over Windows. Of course, not everyone knows how to use iCloud storage, but that’s precisely why you’re here. Not only have you learned what iCloud is and how it works, but you also now know how to use iCloud storage to your advantage through this guide. With this, it wouldn’t come as any surprise if you were to use the feature regularly from now for storage and other purposes it may serve you.
Latest Articles