

OneDrive is a cloud storage service that allows users to store and access files from anywhere, on any device. One common issue that users face is duplicate files on OneDrive. These duplicates can take up valuable storage space, make it difficult to find the original files, and cause confusion. Here’s everything you need to know about OneDrive duplicate files and how to handle them.
Part 1: What Causes OneDrive Duplicate Files?
There are several reasons why duplicate files may appear on OneDrive. Some of the most common reasons include:
- Uploading files multiple times: If you upload the same file to OneDrive multiple times, it will create duplicate files.
- Syncing issues: If you have multiple devices that are syncing with OneDrive, files may be duplicated if there are synchronization issues.
- Sharing files: If you share a file with someone and they upload it to their OneDrive, it will create a duplicate file.
Part 2: How to Find Duplicate Files in OneDrive
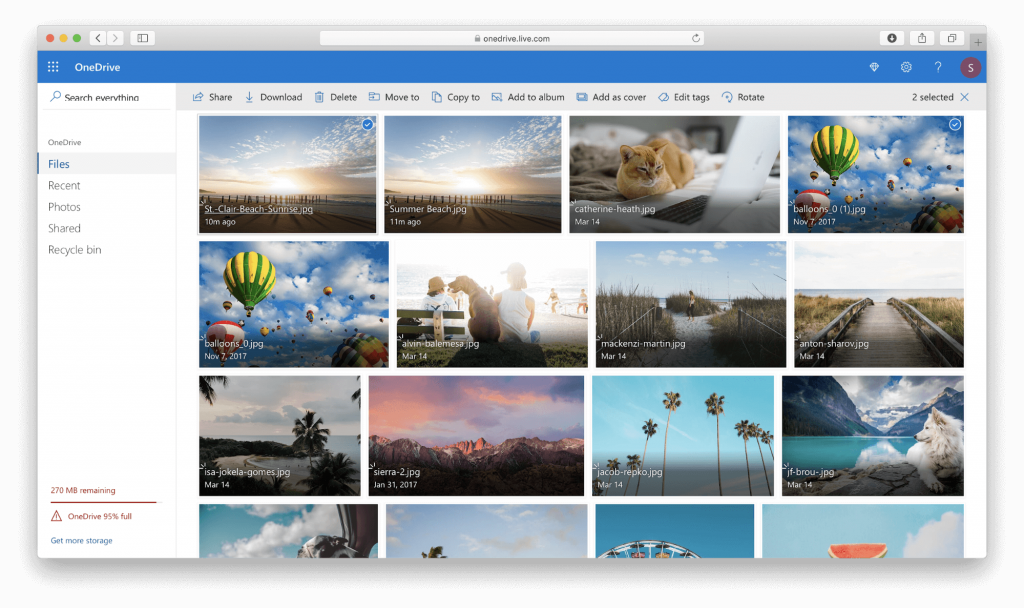
If you’re using OneDrive to store your files, it’s easy to accumulate duplicate files over time. These duplicates can take up valuable space and make it difficult to find what you’re looking for. Here’s how to find duplicate files in OneDrive:
- Log in to your OneDrive account and navigate to the folder you want to search for duplicates in.
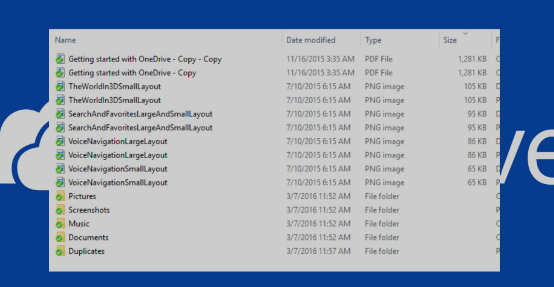
- Click on the “View” tab in the top menu and select “Details”.
- In the Details view, you’ll see columns for Name, Date Modified, Type, and Size. Click on the “Name” column to sort the files alphabetically by name.
- Scroll through the list of files and look for any files with the same name. If you find duplicates, select them by holding down the “Command” key and clicking on each file.
- Once you’ve selected all the duplicates, right-click on one of the files and select “Delete” to remove the duplicates from your OneDrive folder.
Alternatively, you can use a third-party tool like Duplicate File Finder to quickly scan your OneDrive account for duplicate files. This tool will save you time and make it easier to find and delete duplicates, freeing up valuable space in your cloud storage.
Part 3: How to Delete Files from OneDrive
If you want to delete files from your OneDrive account, there are a few different methods you can use. Here’s how to delete files from OneDrive:
- Log in to your OneDrive account and navigate to the folder where the files are located.
- Select the files you want to delete by holding down the “Command” key and clicking on each file. Alternatively, you can select all the files in a folder by clicking on the first file, holding down the “Shift” key, and clicking on the last file.
- Once you’ve selected the files you want to delete, right-click on one of the files and select “Delete” from the dropdown menu. Alternatively, you can click on the “Delete” button in the top menu.
- A prompt will appear asking if you’re sure you want to delete the files. Click “Delete” to confirm.
- The files will be moved to the Recycle Bin in OneDrive, where they will be permanently deleted after 30 days. If you want to restore a deleted file, you can do so within the 30-day period by going to the Recycle Bin and selecting “Restore”.
Note that deleting files from OneDrive will also delete them from any devices where they are synced. If you want to keep a copy of the file on your computer, make sure to download it before deleting it from OneDrive.

Other Ways to Delete Duplicate OneDrive Files
Use a third-party app: If you have a lot of files and folders to search through, using a third-party app can save you time. Some popular options include Duplicate File Finder, Duplicate File Remover, and Easy Duplicate Finder. These apps scan your OneDrive for duplicate files and give you the option to delete them.
Use Microsoft Office: If you use Microsoft Office, you can use the built-in “Remove Duplicates” feature. Open the Excel, Word, or PowerPoint file that contains the duplicates. Click on “Data” and select “Remove Duplicates.” Select the columns that contain the duplicates and click “OK” to remove them.
Part 4: How to Remove Duplicate Files from OneDrive on Mac
To remove duplicate files from OneDrive on Mac, you can follow these steps:
- Open the OneDrive app on your Mac and sign in to your account.
- Navigate to the folder where you want to search for duplicate files.
- Press “Command” + “F” to open the search bar.
- In the search bar, type in “kind: duplicate” and press enter. This will bring up a list of all the duplicate files in the folder.
- Select the duplicate files you want to delete by holding down the “Command” key and clicking on each file.
- Right-click on one of the selected files and choose “Move to Trash” from the dropdown menu. Alternatively, you can drag the selected files to the Trash icon in the dock.
- Once you’ve moved the files to the Trash, right-click on the Trash icon in the dock and choose “Empty Trash” from the dropdown menu. This will permanently delete the duplicate files from your OneDrive account.
It’s important to note that deleting files from OneDrive on your Mac will also delete them from any other devices where they are synced. If you want to keep a copy of the files, make sure to download them to your computer before deleting them from OneDrive.
Part 5: How toRemove Duplicate Files from OneDrive using Mac Cleaner
Mac Cleaner is an app that automatically detects and sorts files to help users free up storage space on their Macs. While the app does the work for you, using it may not be very intuitive. Mac Cleaner is a third-party tool that can help you remove duplicate files from your OneDrive account. Here’s how to use Mac Cleaner to remove duplicate files from OneDrive:
Step 1: Install and Launch Mac Cleaner on Your Mac
To begin, download the software from its official website by clicking the “Download Now” button. Once the DMG file is downloaded, open it to start the installation process. Follow the onscreen instructions to complete the installation. The app should launch automatically when the installation is finished.

Step #2: Choose a Module from Six Available Options
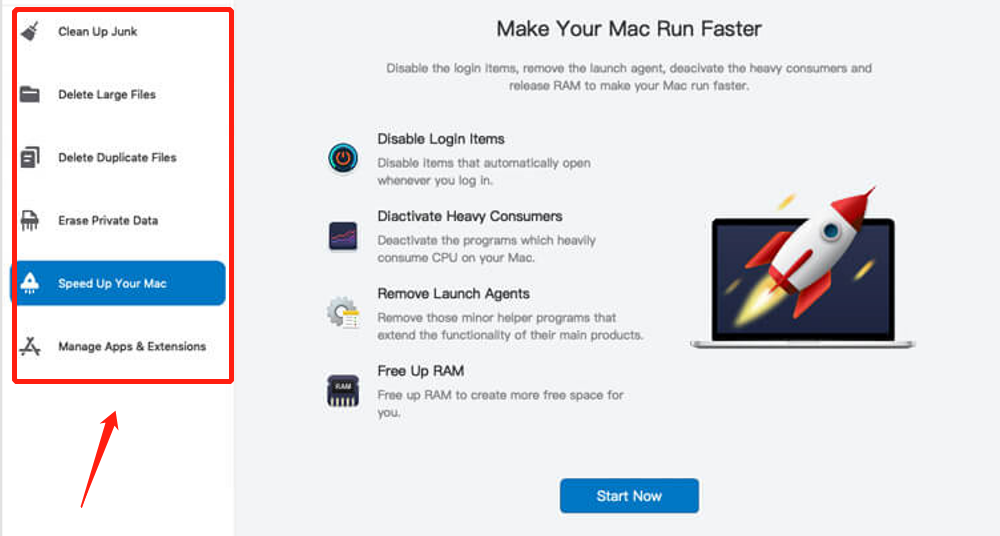
When you open Mac Cleaner, you’ll see six different modules on the left side of the interface. Each of these modules has a specific function, and you can choose the one that best fits your needs. Here’s a brief overview of each module:
- Clean Up Junk removes unwanted files like system cache, app cache, iTunes junk, and Trash files.
- Delete Large Files helps you find and delete files larger than 50MB.
- Delete Duplicate Files scans your computer for duplicate files and helps you delete them.
- Erase Private Data removes files containing sensitive data like chat history and photo cache.
- Speed Up Your Mac optimizes your computer’s RAM and CPU usage by temporarily disabling apps and processes.
- Manage Apps & Extensions allows you to uninstall unused apps and browser extensions.
Step #3: Click the Scan or View Items Button
The next step is to scan your computer for files or apps that can be removed to free up space. Depending on the module you selected in the previous step, the scanning process may vary. Here’s how to scan for each of the five modules:
- Clean Up Junk: The software offers two scanning options, Quick Clean and Deep Clean. Quick Clean scans for System Junk, App Junk, Trash Bin, and iTunes Junk, while Deep Clean scans for those in addition to Downloads, iOS Junk, and Unused Disk Images. Choose one of the scanning options and click the Scan button.
- Delete Large Files: Simply click the Scan button.
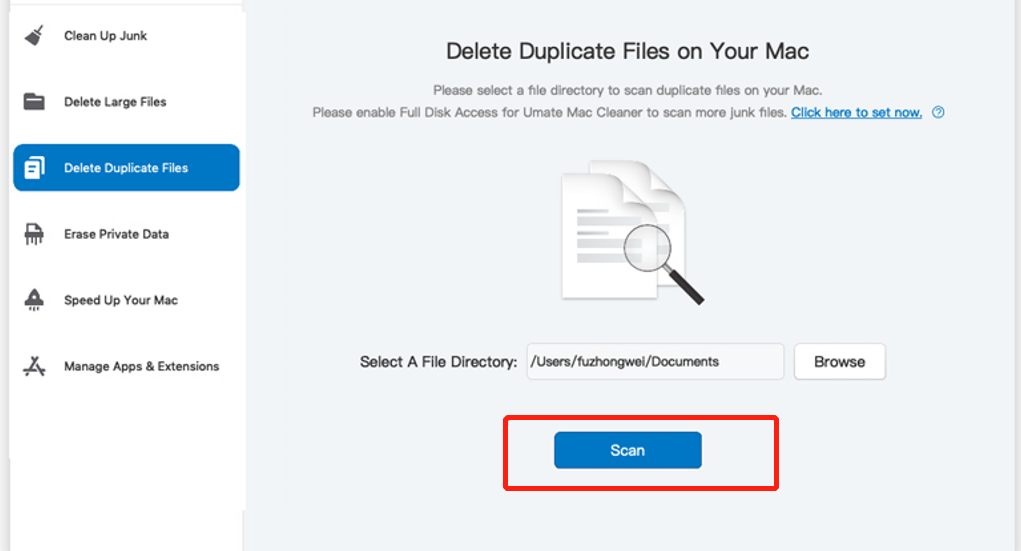
- Delete Duplicate Files: In the center of the interface, you’ll find a field labeled “Select a File Directory” with a Browse button to its left. Click on Browse and navigate to the folder you want to scan for duplicate files. Once you have selected the folder, click the Scan button.
- Erase Private Data: Click the Scan button.
- Manage Apps & Extensions: There are two options available, Uninstall Applications and Remove Extensions. Choose the appropriate option and click the View Items button beneath it
Click on the “Scan” button to start the scan for duplicate files.
Step #4: Choose Item(s) to Delete
Once the scanning is complete, a list of items will be displayed depending on the module you have selected. To select items for deletion, follow these instructions:
- Clean Up Junk: You will see two lists, one on the left and one on the right. The left list shows file categories such as System Junk, Downloads, Trash Bin, and Unused Disk Images. Select a category, and the list on the right will display the actual files from the selected category. To select the files you want to delete, click their corresponding checkboxes. You can also click Select All to include all items in the list.
- Delete Large Files: Simply select the item you want to delete from the list.
- Delete Duplicate Files: Select the item (e.g., image, document, audio, video, etc.) from the list.
- Erase Private Data: Like Clean Up Junk, there are two lists. The left list shows five items: Online Traces, Usage Traces, Chat Data, Photo Junk, and Mail Attachment. Select a category, and the list on the right will appear. Select files from that list the same way you did in Clean Up Junk.
- Manage Apps & Extensions: If you have chosen to Uninstall Applications, you will see a list of installed applications with no selection process required. If you have chosen to Remove Extensions, you will see a list of browsers. Select a browser to view the extensions installed on it.
After the scan is complete, you’ll see a list of duplicate files.
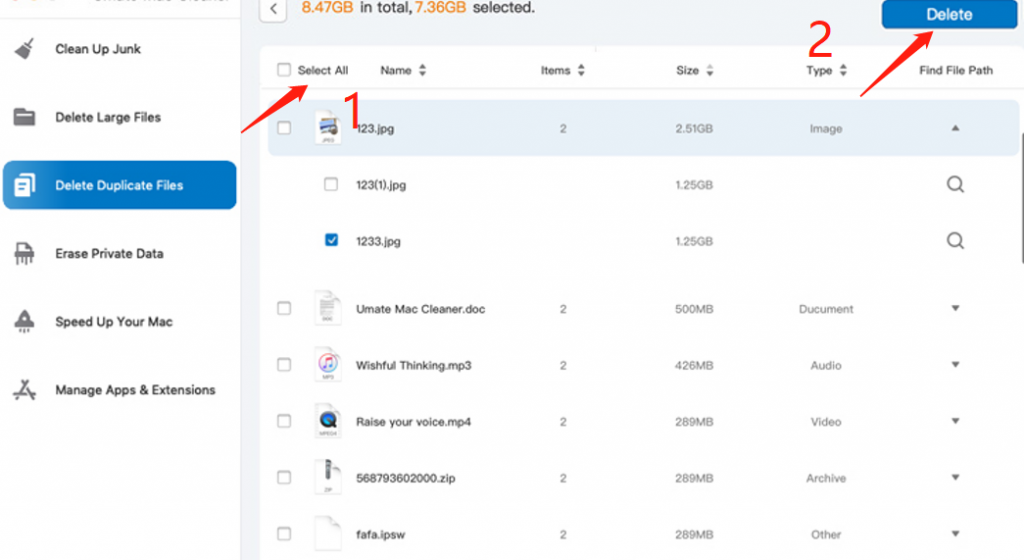
Step #5: Click the Blue Button
To complete the process, you need to click on the blue button located at the upper right corner of your screen, regardless of the module you have chosen. The button label may vary depending on the module you have selected. You may encounter any of the following labels: Clean, Delete, Erase, Deactivate, Uninstall, or Remove.
The beauty of this method is that the size of your storage limit is not a problem. Even if you have a large storage limit, you can still optimize it effortlessly because the Mac Cleaner software can quickly scan your entire computer. Check the boxes next to the files you want to delete. Click on the “Delete” button to remove the selected duplicate files from your OneDrive account.
Conclusion
OneDrive duplicate files can cause confusion and take up valuable storage space. By using the methods listed above, you can easily find and delete duplicate files on OneDrive. Always make sure to review the list of duplicate files carefully before deleting them to avoid accidentally deleting important files.
Latest Articles