

In the digital age, where images speak volumes and social media platforms have become our virtual homes, the ability to search for the source, context, or similar images can be incredibly useful. Facebook, being one of the most popular social networks, has its own intriguing feature called “Reverse Image Search.” This powerful tool allows users to perform detective-like searches, unveiling a world of connections, inspirations, and sometimes, even the truth. In this blog, we’ll delve into the ins and outs of reverse image search on Facebook and explore how you can master it to your advantage.

Part 1: Understanding Reverse Image Search
Reverse image search is a technique that allows you to search the internet using an image as the query, rather than a text-based search term. This means you can take an image you find on Facebook and use it as the basis for a search to find similar or identical images, as well as related information. This feature can be incredibly useful for fact-checking, verifying the source of an image, or discovering more about the context of a picture.
Can You Image Search On Facebook?
As of my last knowledge update in September 2021, Facebook did not have a built-in reverse image search feature like some other platforms. However, it’s essential to note that features on social media platforms can change over time, and new updates may have been introduced since then. I recommend checking the current Facebook Help Center or exploring the latest Facebook app settings to see if a reverse image search feature has been added or if any third-party tools can provide this functionality within the platform.
Part 2: How to Perform a Reverse Image Search on Facebook
Facebook has made it relatively straightforward to perform a reverse image search within the platform. Here’s a step-by-step guide:
- Find the Image: Locate the image you want to search for on Facebook. This can be an image from a friend’s post, a group, or a page you follow.
- Open the Image: Click on the image to open it in a larger view.
- Right-Click on the Image: If you’re using a computer, right-click on the image. If you’re using a mobile device, tap and hold the image until a menu appears.
- Select “Search Image on Facebook”: In the context menu that appears, you should see an option that says “Search image on Facebook” or something similar. Click or tap on this option.
- Review the Results: Facebook will now show you search results related to the image. These results may include posts, pages, and groups where the image has been shared. You can browse through the results to learn more about the image and its context.
Part 3: Why Use Reverse Image Search on Facebook
Reverse image search on Facebook can be a valuable tool for several reasons:
Verifying Information: With the rise of misinformation and fake news, it’s essential to verify the authenticity of images before believing or sharing them. Reverse image search can help you identify the original source of an image and determine whether it has been altered or taken out of context.
Discovering Context: Sometimes, an image might appear in a Facebook group or page without much context. By using reverse image search, you can find other instances of the image and gain a better understanding of its meaning or origin.
Identifying Trends: Reverse image search can also help you identify trends or popular memes circulating on Facebook. This can be useful for staying up-to-date with current internet culture.
Protecting Privacy: If you’re concerned about your own images being used without your permission, reverse image search can help you find instances of your pictures online. This is especially important for maintaining your privacy and controlling your digital footprint.
The Limitations
While reverse image search is a powerful tool, it’s essential to understand its limitations:
Privacy Settings: If the original image has strict privacy settings, it might not show up in search results. Facebook respects users’ privacy settings, so you won’t be able to access content that is not publicly shared.
Image Modifications: If the image has been heavily modified, cropped, or edited, the reverse image search might not yield accurate results. It’s more effective for identifying identical or slightly modified versions of the original image.
Image Exclusivity: If the image is exclusive to a closed group or private page, the search results may not include that image unless you have access to the group or page.
Part 4: Remove Similar Photos from Your Mac
Removing similar photos from your Mac can help you free up valuable storage space and declutter your photo library. Here’s a step-by-step guide on how to do it:
- Open Photos App: Launch the Photos app on your Mac. You can find it in the Applications folder or use Spotlight to search for it.
- Select a Photo: Navigate to the album or folder where your photos are stored. Click on a photo that you suspect has duplicates or similar versions.
- Use “View”: In the top menu, click on “View” and then select “Show Sidebar” if the sidebar is not already visible.
- Find Duplicates: In the sidebar, you should see the “Photos” option. Click on it, and you’ll see a grid of all your photos.
- Sort and Compare: Manually scroll through your photos and look for duplicates or similar images. Pay attention to photos that have been taken in quick succession or appear nearly identical.
- Delete Similar Photos: When you find a similar photo you want to remove, select it (click on it), and then press the “Delete” key on your keyboard. Confirm that you want to delete it.
- Empty Trash: After reviewing and deleting similar photos, remember to empty the “Recently Deleted” folder in the Photos app to completely remove the photos from your Mac.
Before You Start: Backup
Before you start deleting any photos, it’s a good idea to create a backup of your photo library, just in case something goes wrong or you accidentally delete a photo you didn’t mean to. You can use Time Machine or manually copy your photo library to an external drive. Remember, always be cautious when deleting photos, and double-check that you’re removing the right ones to avoid losing precious memories.
Bonus: Remove Similar Photos with Mac Cleaner
Mac Cleaner is a versatile software designed to detect and delete unnecessary files from your computer. It’s the perfect solution for reclaiming space when backups are using up most of your storage. Using a Mac cleaner or optimization tool can be a convenient way to remove similar photos from your Mac, especially if you have a large photo library. Here’s a step-by-step guide on how to do it using a popular Mac cleaner tool, Mac Cleaner:
Step 1: Download, Install, and Launch Mac Cleaner on Your Mac
Start by opening your browser and visiting the official download site for Mac Cleaner. Click the “Download Now” button to get the DMG file. Once downloaded, open the DMG file to run the installer, and follow the on-screen instructions. The software will open automatically after installation.
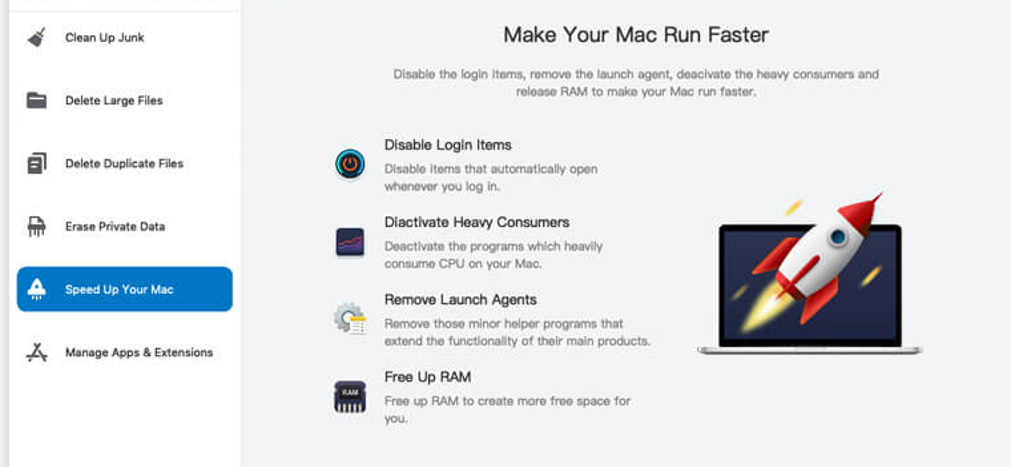
Step 2: Choose a Cleaning Module
Mac Cleaner offers six modules:
- Clean Up Junk
- Delete Large Files
- Delete Duplicate Files
- Erase Private Data
- Speed Up Your Mac
- Manage Apps & Extensions
Since your goal is to free up space on your computer, focus on the first three modules, which allow you to delete unnecessary files. Here’s an overview of these modules:
- Clean Up Junk: Detects and deletes junk files, including system and app cache, iTunes cache, files in the Trash and Downloads folder, and more.
- Delete Large Files: Scans for files exceeding 50MB in size, ensuring you won’t accidentally delete important files. It scans files regardless of their type.
- Delete Duplicate Files: Scours your Mac storage to find duplicate files and creates a list for you to review and delete.
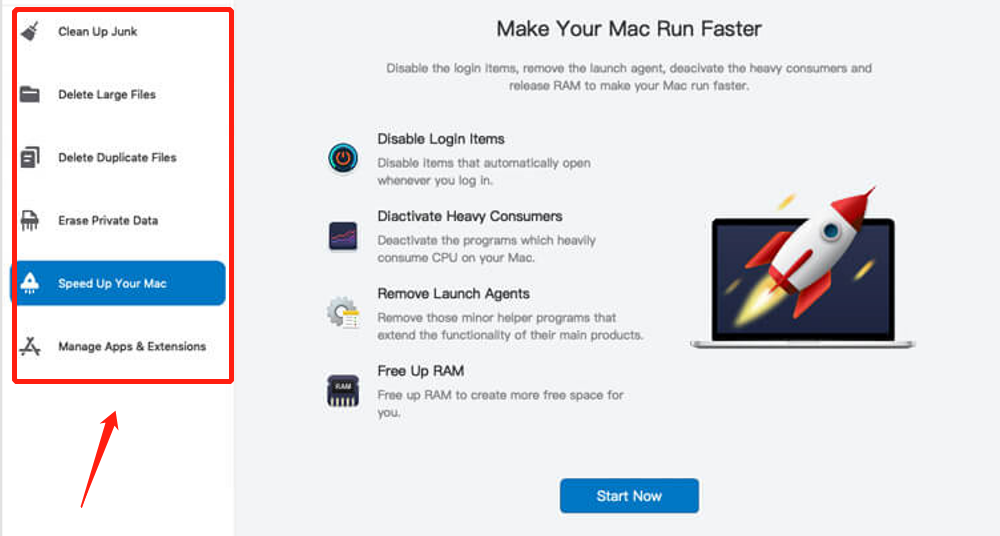
You can select a module by clicking on it in the left sidebar of the software.
Step 3: Scan Your Mac for Files
For all cleaner modules, you’ll need to scan your computer for files. The process varies based on the module you’ve chosen:
- Clean Up Junk: Choose between Quick Clean (scanning System Junk, App Junk, Trash Bin, and iTunes Junk) and Deep Clean (includes Downloads, iOS Junk, and Unused Disk Images), then click the “Scan” button.
- Delete Large Files: Click the “Scan” button immediately after selecting this module.
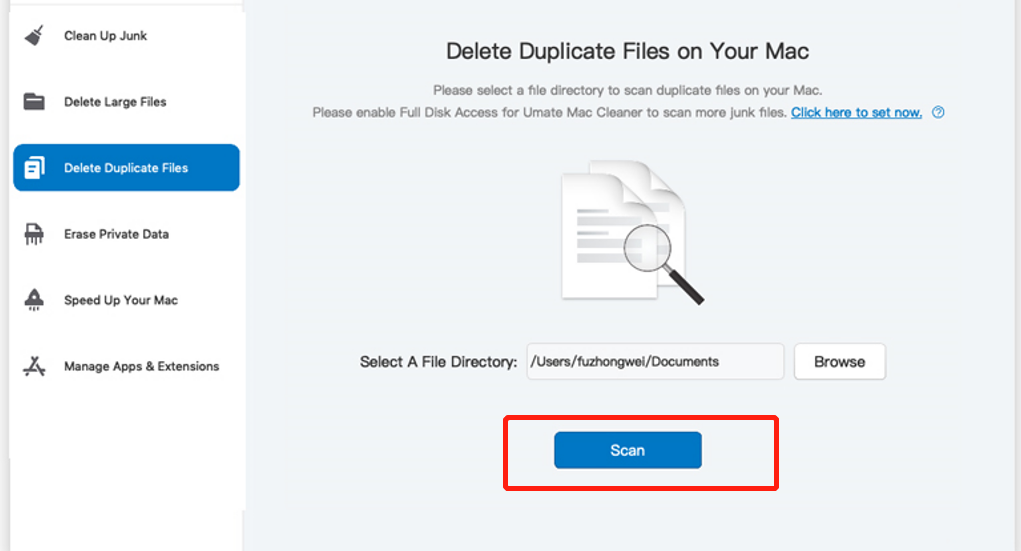
- Delete Duplicate Files: Click the “Browse” button at the center of the software, navigate to the folder you want to scan, and then click the “Scan” button.
Step 4: Select Files to Delete
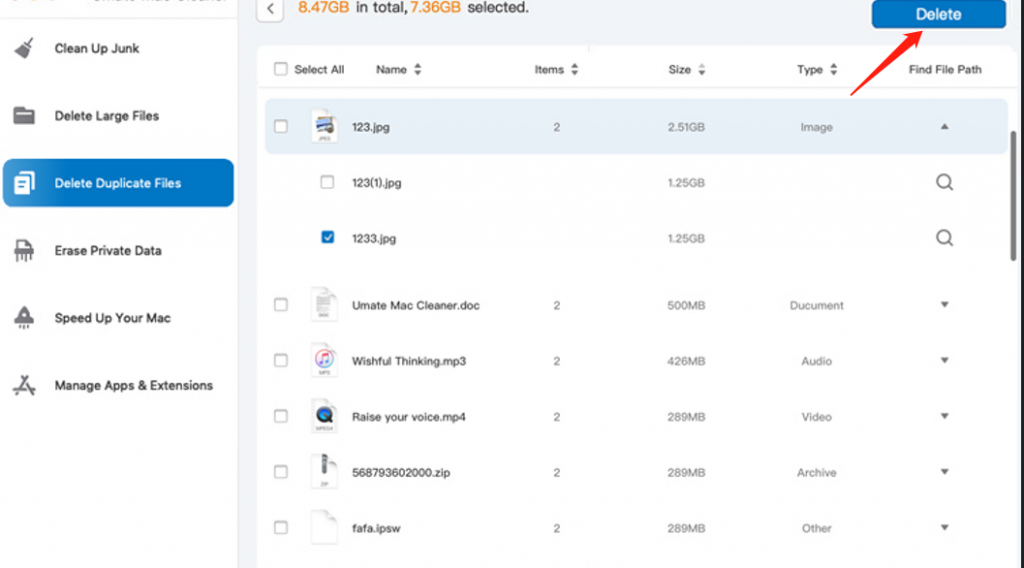
Before deleting files, you must select them. For Delete Large Files and Delete Duplicate Files, this is straightforward, as you’ll get a list of files to delete. For Clean Up Junk, the software will first display categories (Downloads, Trash Bin, Unused Disk Images, System Junk, etc.). Select a category, and the list of files will appear on the right side of the software. Click the checkboxes of the files you want to delete or use the “Select All” checkbox to include all items.
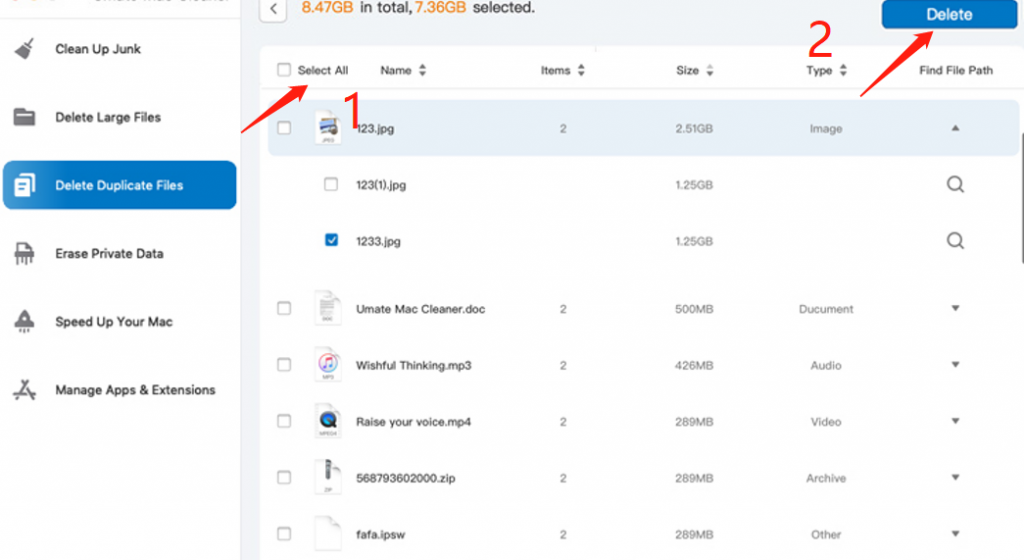
Step 5: Delete the Files
Review the list of similar photos and select the ones you want to delete. You can usually do this by checking a box next to each photo. Finally, click the blue button in the upper-right corner of the software, which will say either “Delete” or “Clean” based on the module. Wait for the deletion process to complete.
Conclusion
Mastering the art of reverse image search on Facebook can be incredibly beneficial for fact-checking, understanding image context, and safeguarding your privacy. By following the simple steps outlined above, you can become a more informed and responsible user of social media. Remember, with great power comes great responsibility, so use this tool wisely and consider the privacy and rights of others as you explore the world of images on Facebook and beyond.
Latest Articles