

In today’s digital age, capturing precious moments on our iPhones has become a common practice. Whether it’s a family gathering, a breathtaking sunset, or a funny moment with friends, recording videos has become an integral part of our lives. However, as our video collections grow, it’s important to know how to transfer them from our iPhones to our Macs for safekeeping, editing, or sharing with others. In this blog post, we’ll explore various methods to help you seamlessly transfer videos from your iPhone to your Mac.

Method 1: How to Transfer Videos from iPhone to Mac using AirDrop
AirDrop is a convenient wireless file transfer feature available on Apple devices, allowing you to easily transfer videos from your iPhone to your Mac. Here’s a step-by-step guide on how to use AirDrop for transferring videos:
Step 1: Enable AirDrop on both devices.
On your iPhone, swipe up from the bottom of the screen to access Control Center.
Tap on the AirDrop icon and select “Contacts Only” or “Everyone” to enable AirDrop.
On your Mac, open Finder and click on “AirDrop” in the sidebar.
Choose “Contacts Only” or “Everyone” for AirDrop visibility options.
Step 2: Initiate the transfer from your iPhone.
Open the Photos app on your iPhone.
Locate the video you want to transfer and tap on it to open.
Tap on the Share icon (a square with an upward arrow).
In the AirDrop section, you should see your Mac’s name. Tap on it.
Step 3: Accept the transfer on your Mac.
On your Mac, a notification will appear asking if you want to accept the video transfer.
Click on “Accept” to initiate the transfer.
Step 4: Find the transferred video on your Mac.
Once the transfer is complete, the video will be saved in the Downloads folder on your Mac by default.
You can also change the destination folder by customizing your AirDrop settings on your Mac.
That’s it! You have successfully transferred a video from your iPhone to your Mac using AirDrop. Repeat the process for additional videos you want to transfer.

Method 2: How to Transfer Videos from iPhone to Mac using iPhoto (or Photos app)
iPhoto, which has been replaced by the Photos app, was Apple’s default photo management software on older Macs. If you are still using iPhoto, here’s how you can transfer videos from your iPhone to your Mac:
Step 1: Connect your iPhone to your Mac.
Use a Lightning-to-USB cable to connect your iPhone to your Mac’s USB port.
Unlock your iPhone and, if prompted, tap “Trust” on your device to establish a connection.
Step 2: Launch iPhoto (or Photos app).
iPhoto: Open the iPhoto application on your Mac.
Photos: Open the Photos app on your Mac.
Step 3: Import videos from your iPhone to your Mac.
In iPhoto: Click on the “Import” button in the iPhoto toolbar.
In Photos: Click on the “Import” tab in the Photos app.
Step 4: Select videos to import.
iPhoto: Choose the videos you want to transfer and click on the “Import Selected” button.
Photos: Select the videos you wish to transfer and click on the “Import Selected” or “Import All” button.
Step 5: Choose a destination folder.
iPhoto: You can specify an existing album or create a new one for the imported videos.
Photos: You can select an existing album or create a new one as a destination for the imported videos.
Step 6: Wait for the import to complete.
The selected videos will be transferred from your iPhone to your Mac and saved in the specified destination folder. That’s it! You have successfully transferred videos from your iPhone to your Mac using iPhoto (or the Photos app). Remember to disconnect your iPhone from your Mac once the transfer is complete.

Method 3: How to Transfer Videos from iPhone to Mac using Image Capture
Image Capture is a built-in utility on Mac that allows you to transfer various media files, including videos, from your iPhone to your Mac. Here’s a step-by-step guide on how to use Image Capture for transferring videos:
- Step 1: Connect your iPhone to your Mac.
Use a Lightning-to-USB cable to connect your iPhone to your Mac’s USB port.
Unlock your iPhone and, if prompted, tap “Trust” on your device to establish a connection.
- Step 2: Launch Image Capture.
Open the Image Capture application on your Mac. You can find it in the Applications folder or use Spotlight search to locate it.
- Step 3: Select your iPhone and videos.
In the Image Capture window, your connected iPhone should appear under the “Devices” section on the left. Select your iPhone to display a list of videos available for transfer.
- Step 4: Choose a destination folder.
At the bottom of the Image Capture window, you’ll find the “Import To” option. Click on the dropdown menu to select a destination folder on your Mac for the transferred videos.
You can also create a new folder by clicking on the “Other” option.
- Step 5: Select videos and start the transfer.
To transfer specific videos, hold down the Command key on your keyboard and click on the desired videos. To transfer all videos, click on the “Import All” button. Click on the “Import” button to begin the transfer process.
- Step 6: Wait for the transfer to complete.
Image Capture will transfer the selected videos from your iPhone to the specified destination folder on your Mac. The progress of the transfer will be displayed in the Image Capture window.
Once the transfer is complete, you can safely disconnect your iPhone from your Mac. The videos will be available in the destination folder you selected.

Method 4: How to Transfer Videos from iPhone to Mac using iCloud
If you have iCloud Photos enabled on both your iPhone and Mac, you can use iCloud to automatically sync and access your videos across devices. Here’s how to transfer videos from your iPhone to your Mac using iCloud:
- Step 1: Enable iCloud Photos on both devices.
On your iPhone, go to Settings > [your name] > iCloud > Photos and turn on “iCloud Photos.”
On your Mac, open the Apple menu, click on “System Preferences,” select “Apple ID,” and click on “iCloud.” Enable “Photos” to sync with iCloud.
- Step 2: Allow time for synchronization.
After enabling iCloud Photos, your videos will be automatically uploaded to iCloud.
On your Mac, open the Photos app and wait for the videos to sync with your Mac. This process may take some time depending on the size of your video collection and internet speed.
- Step 3: Access videos on your Mac.
Once the synchronization is complete, you can access your iPhone videos in the Photos app on your Mac. Open the Photos app and navigate to the “Videos” section to find your transferred videos. By enabling iCloud Photos, your videos will be seamlessly transferred and accessible on both your iPhone and Mac, eliminating the need for manual transfers or cables.

Method 5: Using a USB Cable
Transferring videos via a USB cable provides a direct and reliable method to transfer large files quickly.
- Step 1: Connect your iPhone to your Mac.
Use a Lightning-to-USB cable to connect your iPhone to your Mac’s USB port.
Unlock your iPhone and, if prompted, tap “Trust” on the device to establish a connection.
- Step 2: Transfer videos using the Photos app.
On your Mac, open the Photos app (or Image Capture app) if it doesn’t open automatically.
Your iPhone should appear in the sidebar under “Devices” or in the main window.
Select the videos you want to transfer and click on the “Import Selected” or “Import All” button to start the transfer.
How to Find Duplicate Videos on Mac using Mac Cleaner
To find duplicate videos on Mac using Mac Cleaner, follow these steps:
Step 1: Install and Launch Mac Cleaner
Download and install a reliable Mac cleaning and optimization tool such as “Mac Cleaner” from a trusted source. Launch the Mac Cleaner application on your Mac.

Step 2: Scan for Duplicate Videos
Within the Mac Cleaner interface, you will find various cleaning and optimization options. Look for a specific feature related to duplicate file detection or “Delete Duplicate Files.” Click on the “Delete Duplicate Files” or a similar option to initiate the scanning process.
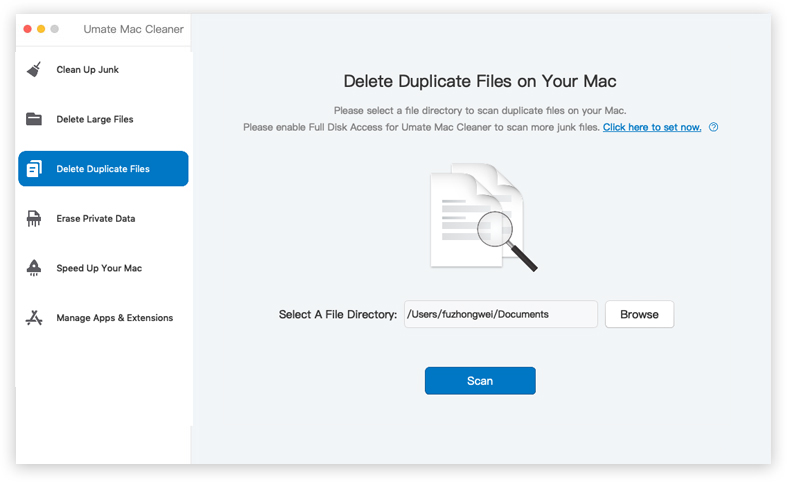
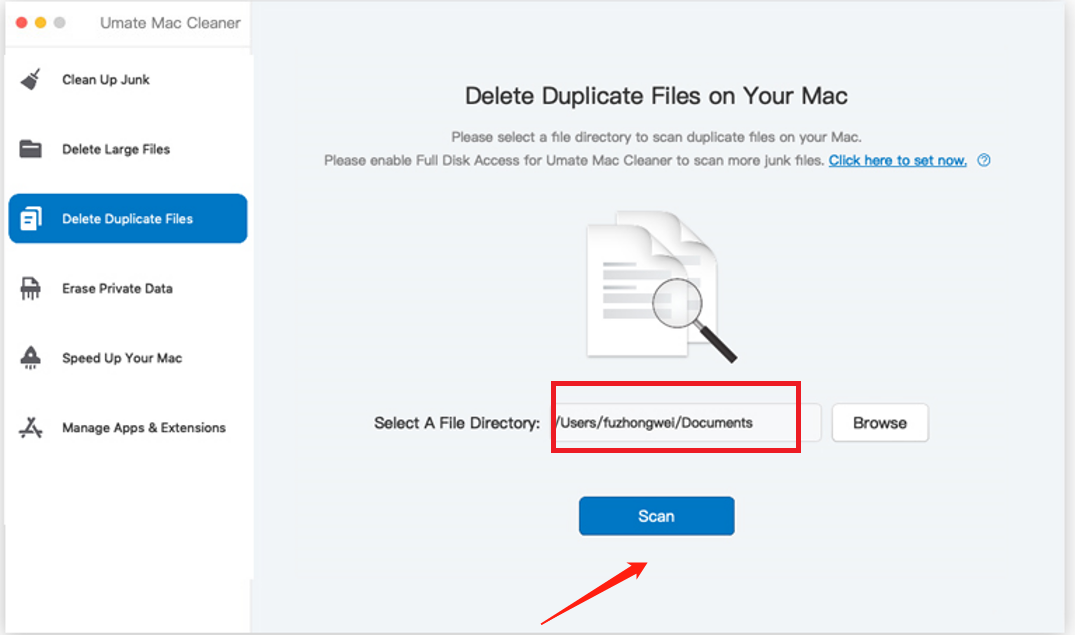
Step 3: Select Video Files to Scan
In the Duplicate Finder section, you may be prompted to select the file types you want to scan. Choose “Videos” or a similar option to ensure the tool focuses on finding duplicate video files specifically. Click on the “Scan” or “Start” button to begin the scanning process. Mac Cleaner will analyze your system and search for duplicate video files.
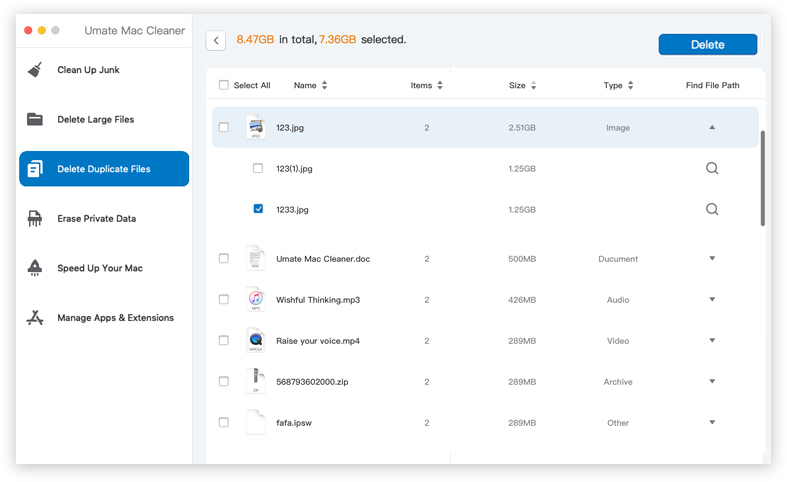
Step 4: Review Duplicate Video Results
Once the scanning process is complete, Mac Cleaner will display a list of duplicate videos found on your Mac. You will typically see the file names, sizes, and locations of the duplicate video files.
Step 5: Select and Remove Duplicate Videos
Review the list of duplicate videos and select the ones you want to delete. Mac Cleaner will provide options to select individual files or use a bulk selection feature. Carefully review your selections to ensure you are deleting duplicate videos and not unique ones. After selecting the duplicate videos, click on the “Delete” button to confirm the deletion process. Mac Cleaner will permanently delete the selected duplicate video files from your Mac.
Please note that the steps may vary slightly depending on the specific Mac Cleaner tool you are using. Always follow the instructions provided by the software and exercise caution when deleting files to avoid removing any important or unique videos.
Conclusion
With these methods at your disposal, transferring videos from your iPhone to your Mac is a breeze. Whether you prefer the wireless convenience of AirDrop, the seamless synchronization of iCloud Photos, or the direct connection of a USB cable, you can choose the method that suits your needs best. Safeguarding your precious memories, editing your videos, or sharing them with friends and family becomes effortless with the ability to easily transfer videos from your iPhone to your Mac.
Latest Articles