

People often assume that once they delete a file on their computer, that file is completely gone. That cannot be further from the truth, especially if the computer, in particular, is a macOS. That’s because when you delete a file, it first sends the file to the Trash, meaning it still exists and can be recovered. And even if the operating system didn’t move it to the Trash, there are bound to be several other files that may contain the data about the deleted file, such as log files and other associated file types.
Though it’s usually not an issue, it can be if you were hacked by a cybercriminal, since that’d mean they have access to files that might be confidential, even if you delete them beforehand. So, how do you securely delete files on Mac. Read on to find out.
Method #1: Permanently Delete The File
There are two categories of ways to securely delete files on Mac: (1) the manual methods and the (2) automatic methods. The manual methods are obviously going to take more time and effort, but their advantage is that you can choose which you want to delete, so there’s a lower chance of data loss. Meanwhile, automatic methods are easier and faster, but they can cause data loss since your important files might get automatically deleted. This first one is one of the manual methods that people often use.
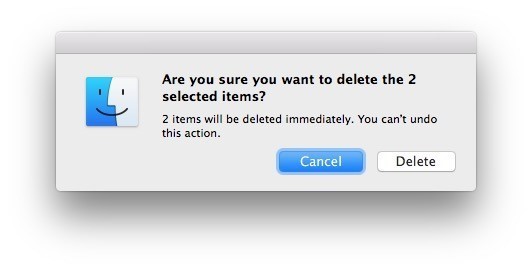
It involves permanently deleting the file so rather than going to the Trash, the system instead takes it out without moving it to the Trash. You simply have to select the file you want to delete, then press Option + Command + Delete on your keyboard.
Again, this will permanently delete the file, so make sure you only select the really useless files. It’s not that effective since it doesn’t take care of other data associated with the selected file. For that, you’ll need a different method which is more drastic.
Method #2: Delete The Entire Folder
The second method is also manual, and it involves deleting an entire folder. The reasoning behind this is that a file type isn’t alone. There are other files associated with it, but they’re hidden somewhere in the same folder. Even if you delete the main file, the other data files may remain. That’s why a good way to securely delete files on Mac is to delete the entire folder where the file is. This method will ensure the main file itself as well as the other files associated with it will be deleted permanently.
Method #3: Use A File Shredder
A file shredder is a type of app that specializes in deleting files while also getting rid of all their traces. It’s basically an app that does exactly what you’re trying to do, which is to securely delete files on Mac. There are free file shredders on the internet, like:
- Permanent Eraser
- Shredit X
- Disk Drill
- VoidTech FileShredder
You have several options, and it’s entirely up to you what you want to choose. But make sure that when you use these apps, you check the files you’re deleting. Otherwise, you may end up deleting important files on your macOS computer.
Method #4: Delete Files With Mac Cleaner
The act of deleting files without any traces is called shredding. It’s akin to how you put a paper on a shredder and though it still technically leaves traces in the form of shredded paper, those are completely useful since you can’t get any info from them anymore. Similarly, a shredder app can take care of files and erase their traces easily. But apart from shredder apps, there are certain file cleaning apps that can do the same thing. Mac Cleaner is a prime example of such a cleaning app.
Mac Cleaner is a cleaning app designed to help users get rid of all kinds of unnecessary files. It allows you to delete files without taking it to the Trash. It also completely eliminates any traces that file may leave, so it’s essentially like a shredder.
If you’re interested in the software, below is a step-by-step guide teaching you how to securely delete files on Mac using the app:
Step #1: Open Mac Cleaner on Your Computer
Before you can securely delete files on Mac, you must first get the software. For that, you need to click this link. It will take you to the Mac Cleaner download page where you must click the Download Now button somewhere on that site. That will download a DMG file, which is the file type for installers in macOS computers. Open that file once it’s downloaded to start the installation. Follow the onscreen instructions from there, and the software will open automatically once the installation is done.
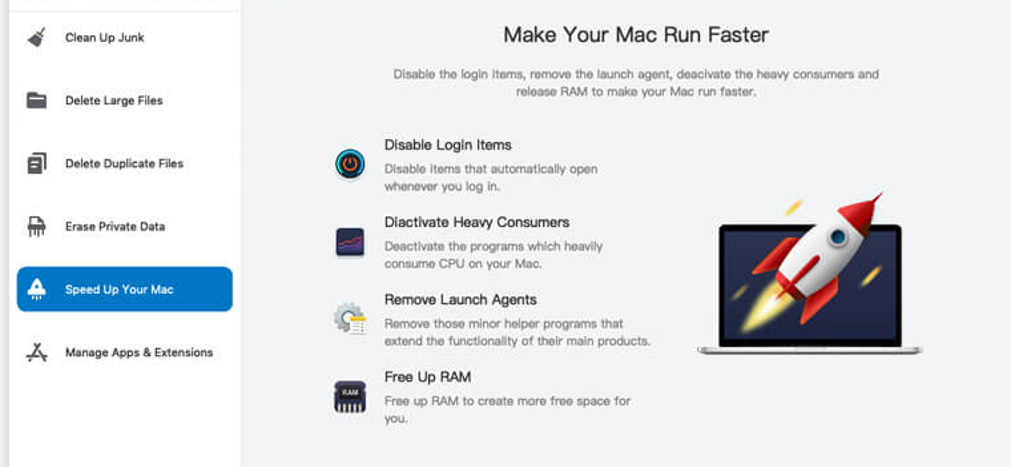
Step #2: Select a Cleaner Module
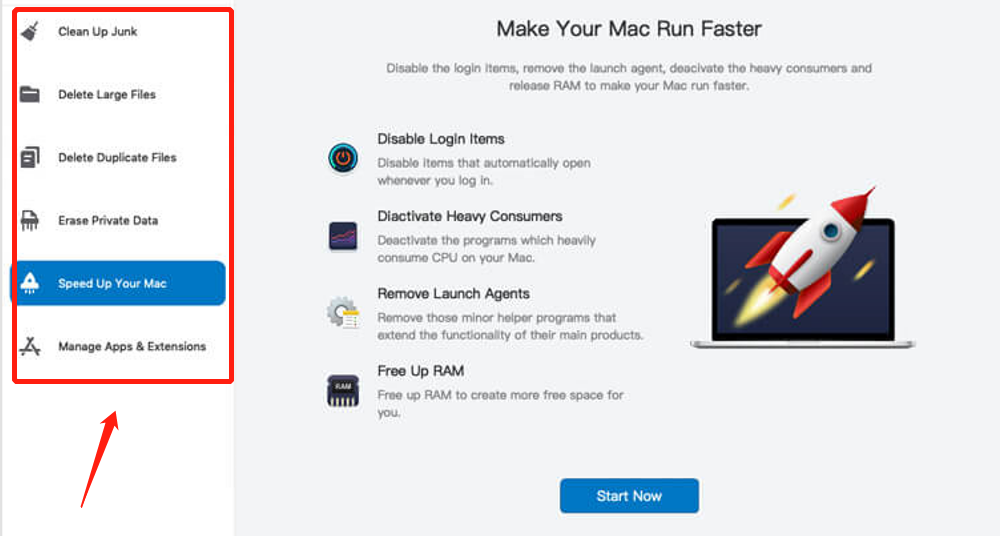
If you look at the left side of the interface, you’ll find six different options, and these correspond to the modules that Mac Cleaner has to offer. These include (1) Clean Up Junk, (2) Delete Large Files, (3) Delete Duplicate Files, (4) Erase Private Data, (5) Speed Up Your Mac, and (6) Manage Apps & Extensions. The first three modules are what we like to call the cleaning modules since they specialize in deleting unnecessary files, which aligns with your objective. Here’s a look at what they do:
- Clean Up Junk can detect and delete unnecessary files called junk files. These may include the system cache, app cache, Trash bin files, unused disk images, and other unnecessary files from iOS default apps and iTunes.
- Delete Large Files scours the computer for files that exceed a certain size threshold, which, in this case, is 50MB.
- Delete Duplicate Files scans a folder of your choosing and looks for files that have another copy or duplicate somewhere in the computer. It basically scans for duplicate files, hence the name, and allows you to delete them.
To select a module, you just have to click on the option you want to choose from the left side of the interface.
Step #3: Scan Your Mac for Files
The idea behind this step is to scan your computer for files so you can delete them in the next steps. Since each module will display a different interface, the way to scan files will vary from one module to another. With that said, here’s how you can scan for files for each of the three cleaning modules:
- Clean-Up Junk: The software will split into two parts upon selecting the module. The left side says Quick Clean while the right side says Deep Clean. Quick Clean scans the computer for the following file types: System Junk, App Junk, Trash Bin, and iTunes Junk, whereas Deep Clean scans those file types in addition to three more, including Downloads, iOS Junk, and Unused Disk Images. Select a scan option between the two and click the Scan button.
- Delete Large Files: Click the Scan button at the bottom-middle part of the interface.
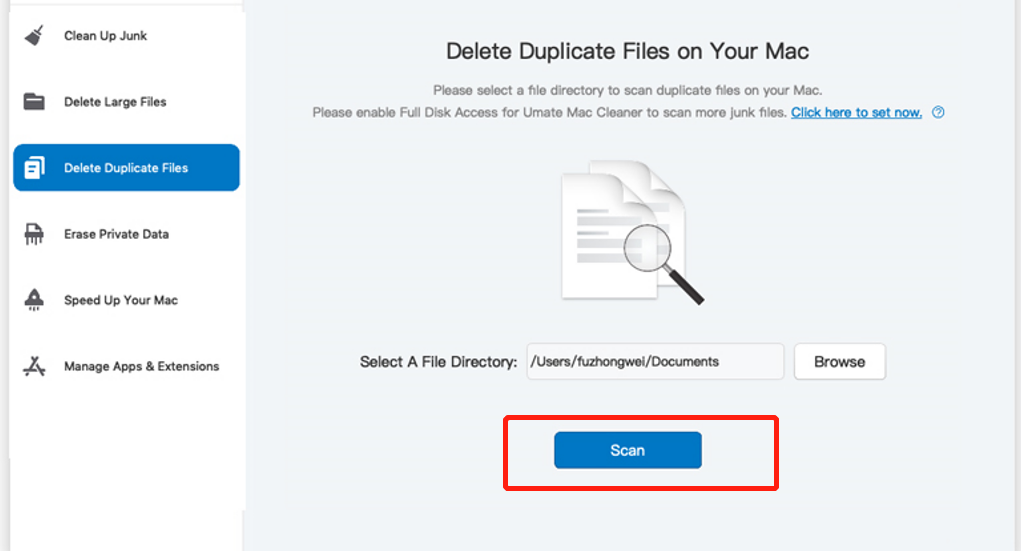
- Delete Duplicate Files: There will be a field at the center of the interface that says Select a File Directory. To its left is the Browse button. Click that button, and when a popup window appears, navigate to the folder you want to scan for duplicates. Select that folder, and once you’re done, click the Scan button.
Step #4: Pick a File/s
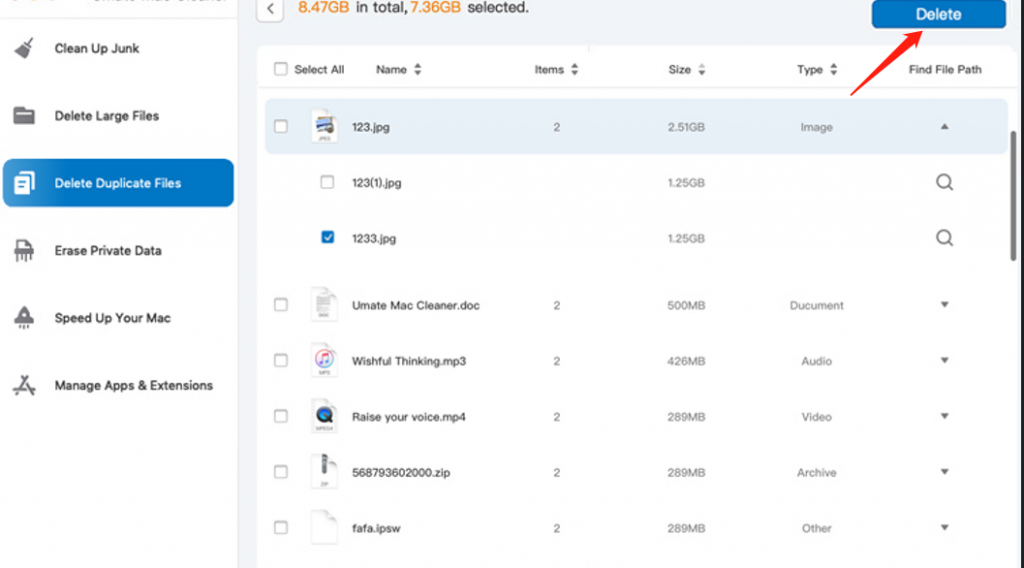
The fourth step is all about selecting the files that you want to delete. For the Delete Large Files and Delete Duplicate Files modules, you’ll get a list of files right away, which may consist of the following file types: image, video, document, song, folders, etc. You can select the files you want to delete by clicking on their corresponding checkboxes. You can also click Select All if you want to delete all the items in the list. In the case of Clean Up Junk, you have to do the same thing, but you must first select a file category from the left side, which may include the following: System Junk, Downloads, Trash Bin, and more.
Step #5: Delete the File/s
You have now selected all the files you want to delete. What you need to do next is click the button located in the upper right corner of the window. It should either say Clean or Delete. Regardless, clicking that button will finalize the deletion process.
Keep in mind that though this does allow you to securely delete files on Mac, it can be risky. After all, since the file won’t be going to the Trash, you won’t be able to recover the files in any way. That’s why when using the software, you must check whether there are files you still want. You can see the name, size, and other info of the file via the interface, so that shouldn’t be much of an issue.
Takeaways
No one wants to have their files hacked by cybercriminals. It can cause various issues, like identity theft, and phishing, or even if the file in question is associated with your job, you may even become unemployed. Unfortunately, these are often out of your control, but is it? With this guide, you now know how to securely delete files on Mac. That way, you can get rid of files while also taking care of their traces, meaning there should no longer be a way to trace any confidential data those deleted files may have.
Latest Articles